 |
|---|
 Home |
 Login |
|---|
 Settings |
 english |
|---|
|
|
|
|---|
| ⇦ |  Focus™ Platform Manual Focus™ Platform Manual | ||||||||||||||||||||||||||||||
|---|---|---|---|---|---|---|---|---|---|---|---|---|---|---|---|---|---|---|---|---|---|---|---|---|---|---|---|---|---|---|---|
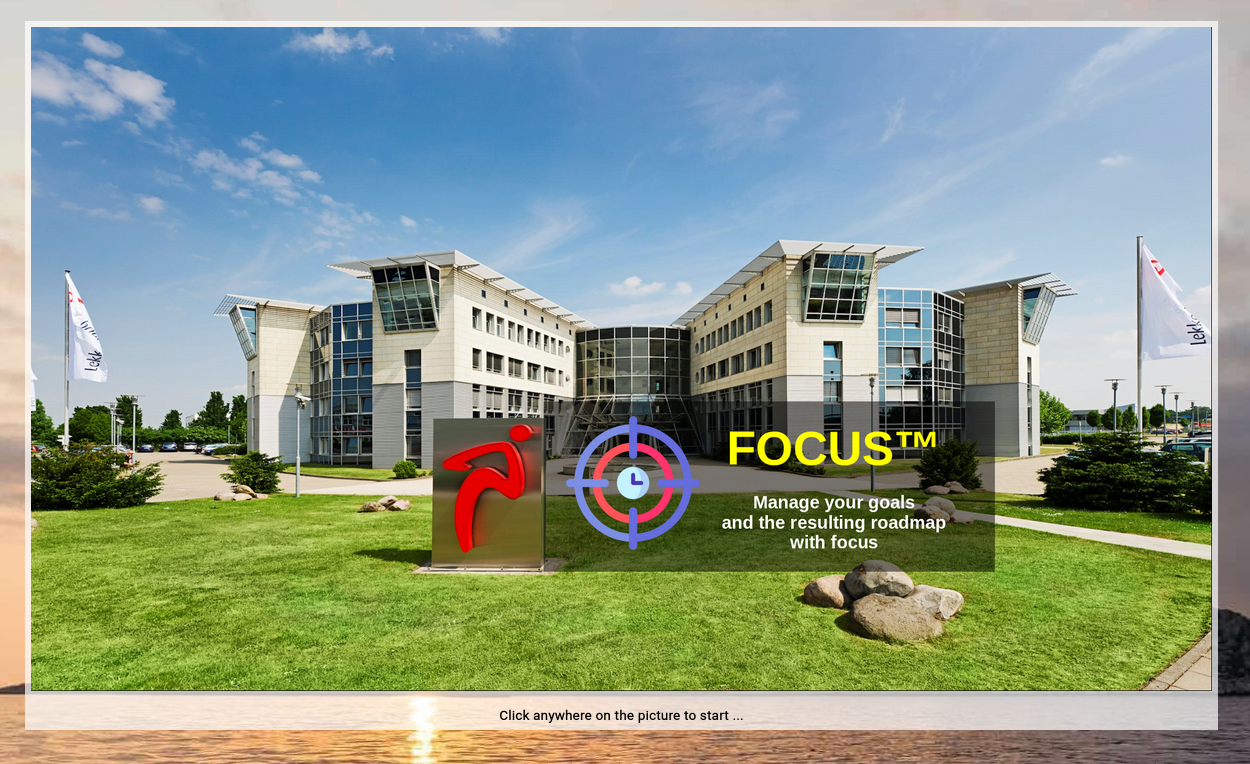
The "Focus™ Platform Manual" introduces the main functions of Focus™, which are independent of its core functionality of managing topics, roadmaps and actions. SplashWhen you first invoke the URL of Focus™, you will face the Focus™ splash screen, which introduces you to starting your session:
If you click on the splash screen, it will switch to the welcome screen, including the menubar on top. Later after login, you can configure a different URL in your profile, which you want to be invoked when clicking on the splash screen. WelcomeThe welcome screen appears automatically after starting Focus™.
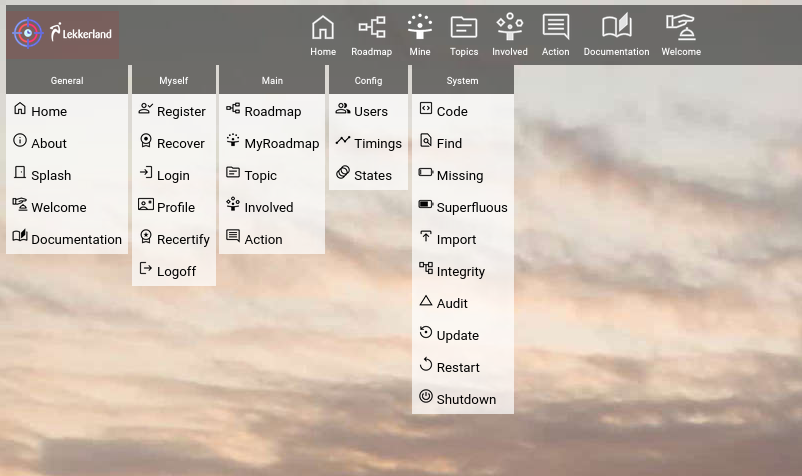
MenubarOn top of the screen, you can see the menubar.
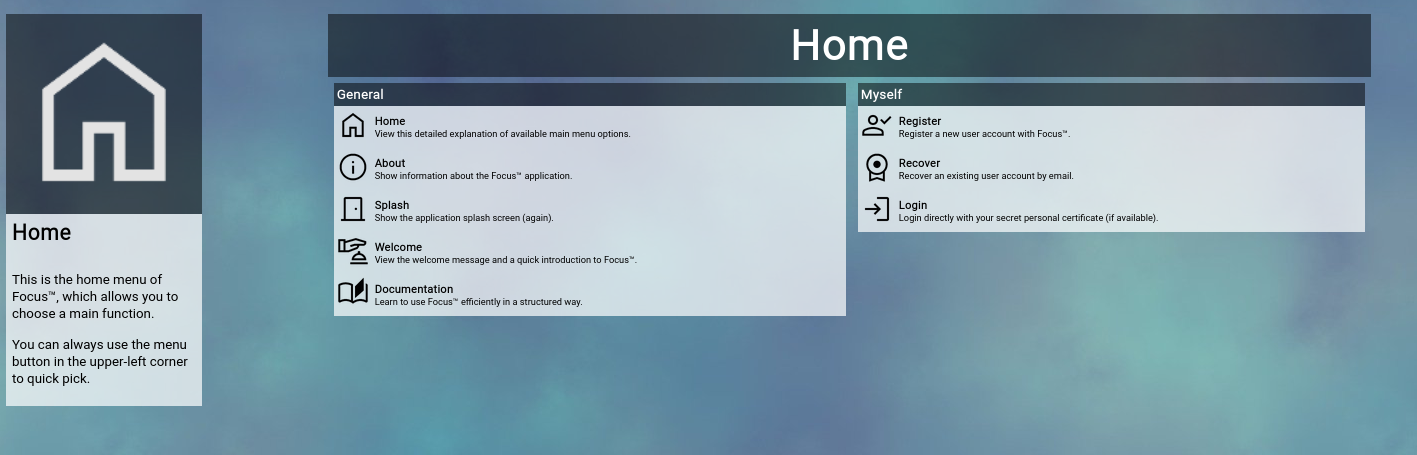
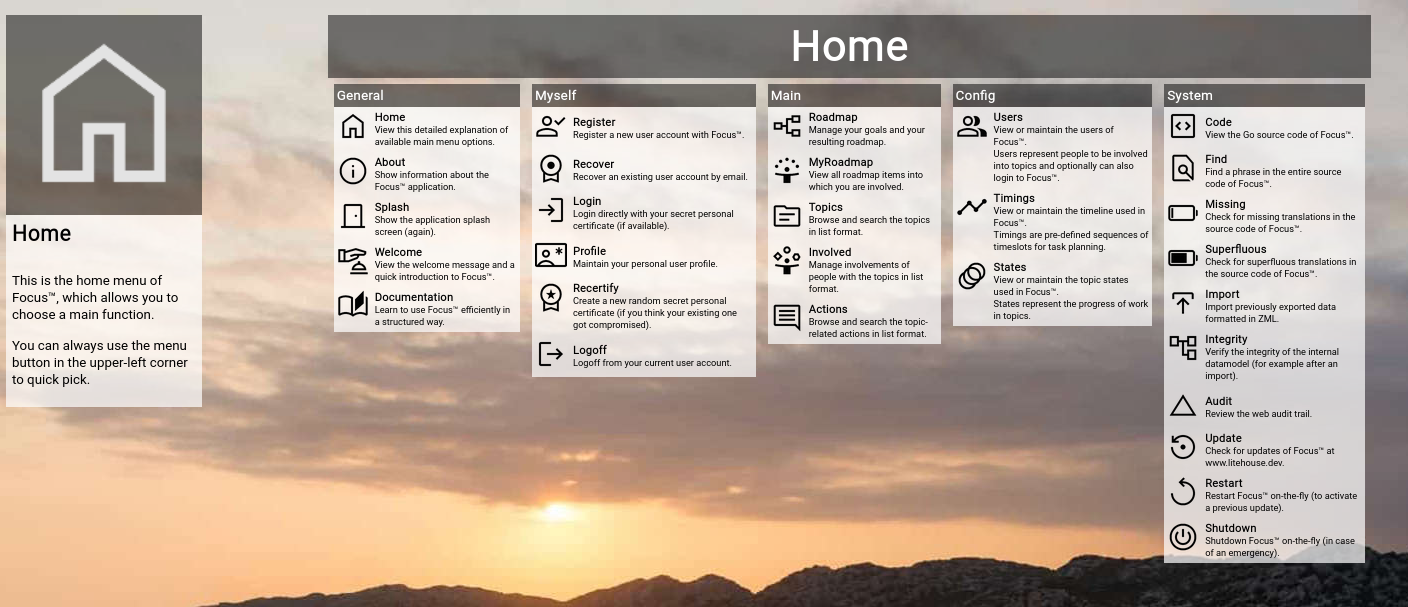
HomeThe Home screen shows all available options of Focus™, depending on the current login state and authorization level:
Additionally, short explanations are available next to each item. This is the best option to make yourself familiar with the available functionality associated with your user account. MenuThe menu is available from the upper-left part of the top-level menubar.
AboutThe About screen gives you a high level overview of the major 3rd party components used in the Focus™ platform.
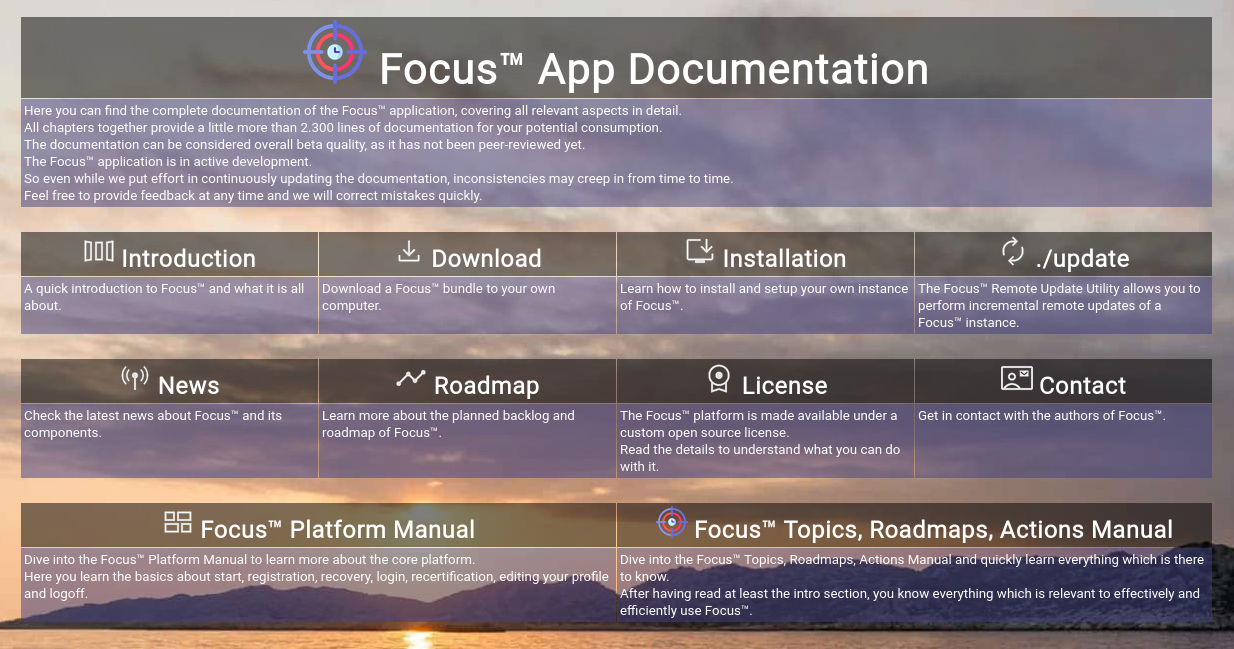
DocumentationThe Documentation function offers you the full set of Focus™ application documentation.
SearchThe Search function is only available after you successfully logged in.
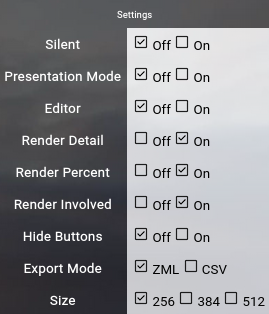
Just enter part of a user name or part of a topic name and click the Search button to view the results. For more ellaborate searches you can use the user browser or the topic browser from the home screen. SettingsThe Settings screen allows you adjust a couple of different settings, which are valid only for your current session in the current browser (they are stored in browser cookies).
Here is an overview of the different settings:
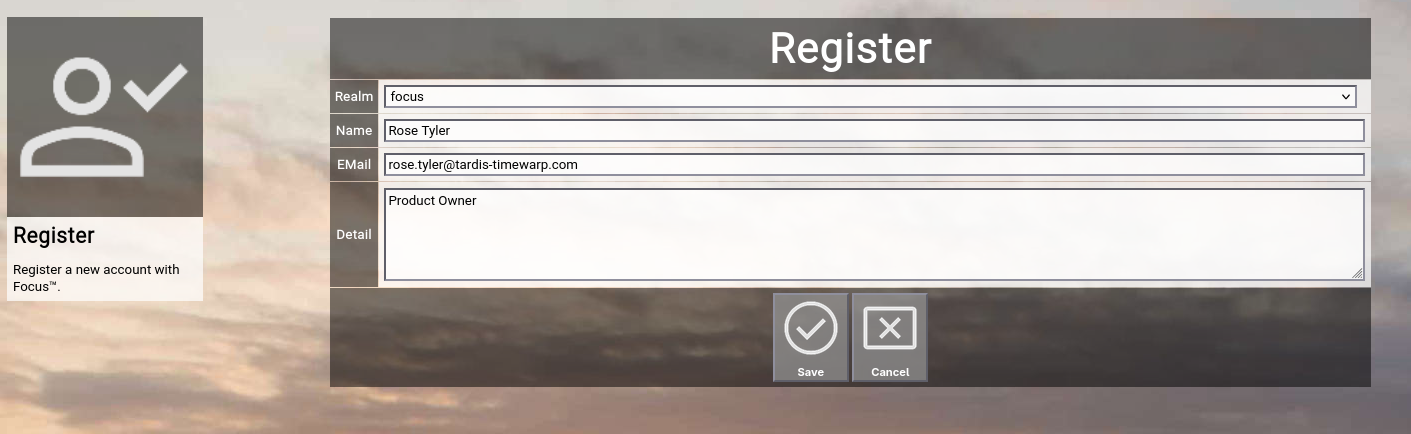
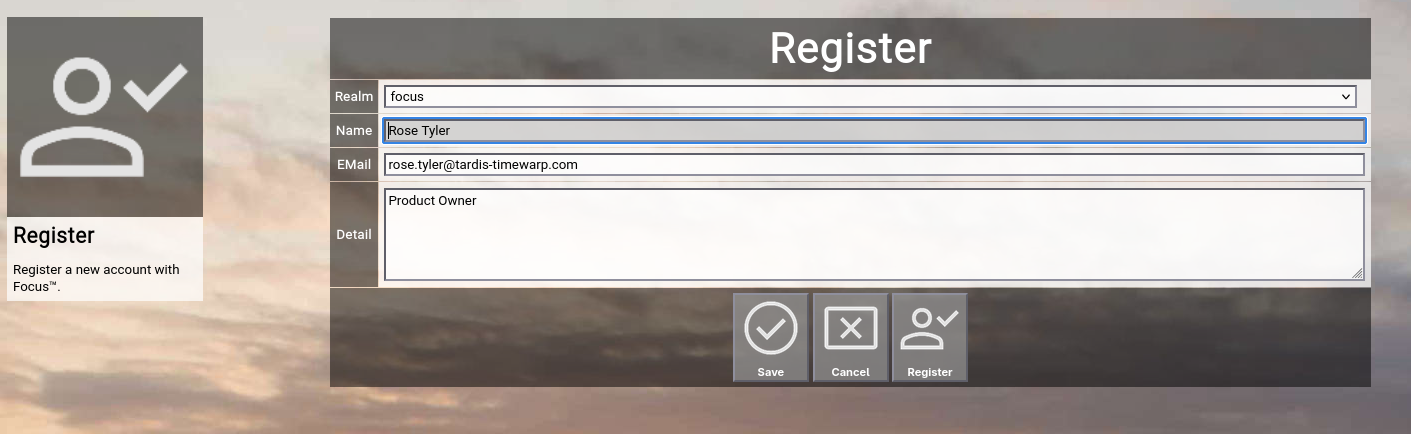
RegisterThe Register screen allows you to register a new user account with the Focus™ platform:
Just fill in your full name, your personal email address and a short description of your user. Now click the OK button at the bottom of the screen.
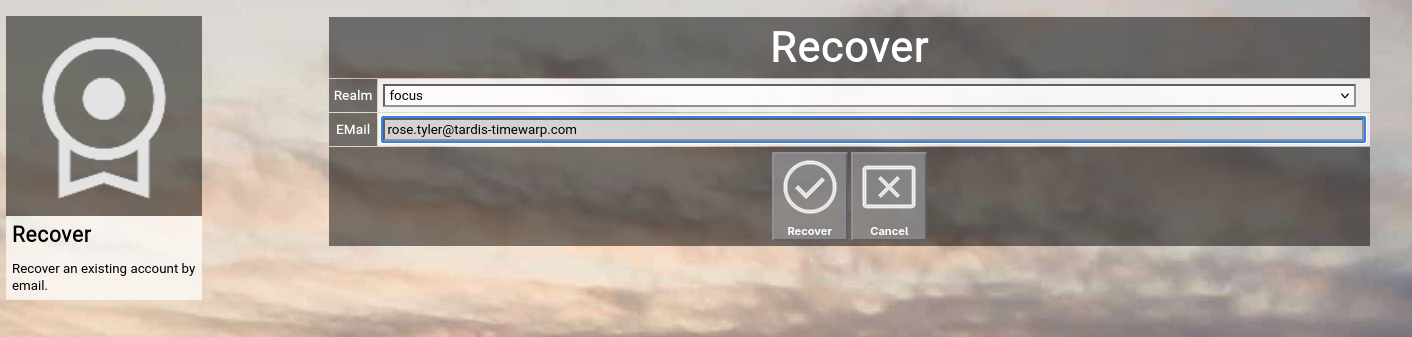
Registering a new user account will create a new user object, which represents your user. The Focus™ instance owner needs to review the new user and set the "active" field and the "login" field to "yes", so that the user can login (they are set to "no" by default). Other attributes (for example the correct keys or the "editor" field) also have to be set, depending on your instance configuration. Be patient (or if you are the owner of your own instance, do the above ;-). RecoverThe Recover function allows you to enter an email address, which previously registered a user account with this Focus™ instance:
Clicking the Recover button will try to locate the user account. LoginThe Login function allows you to paste your personal secret certificate (a random 32-character string):
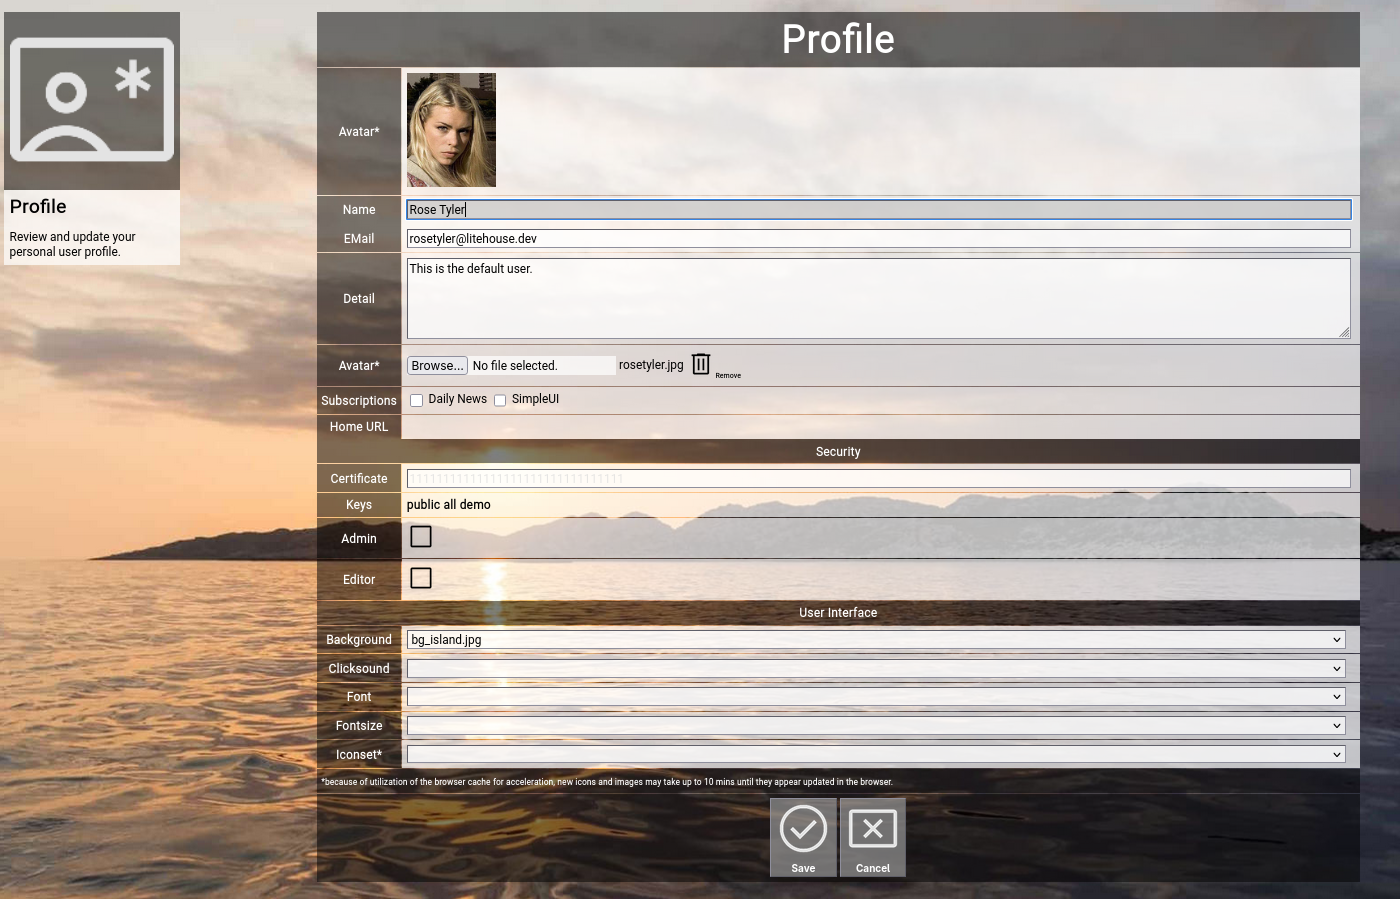
You usually received your personal secret certificate by email. Make sure that your personal secret certificate stays secret! ProfileThe Profile function allows you to update certain aspects of your user account.
Here are some explanations on the different fields:
Security-relevant fields
User-Interface-relevant fields
Make the necessary changes and click the Save button to save. Click the Cancel button to return to the home screen. RecertifyThe Recertify function is only available after you successfully logged in. The recertify screen allows you to generate a new random personal secret certificate for your current user account.
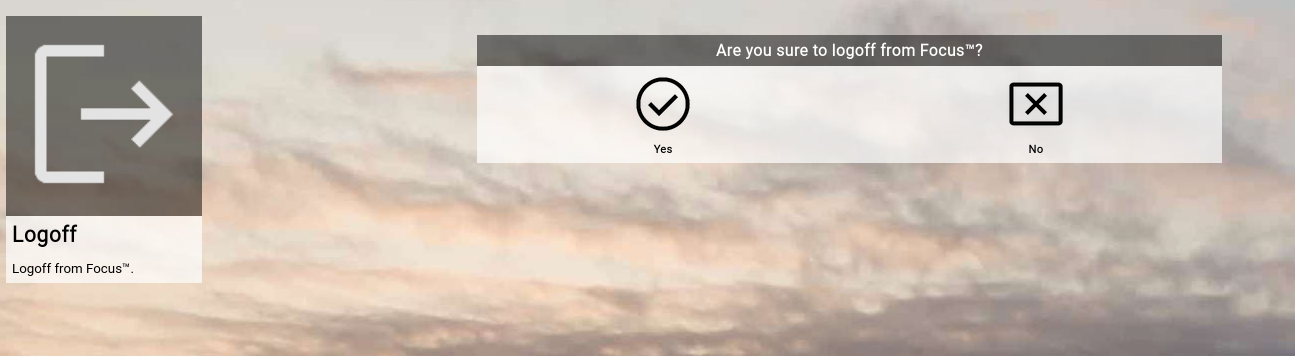
If you click the Recertify button, you can continue with your session normally. Use this screen if you suspect that your personal secret certificate became compromised somehow. LogoffThe Logoff function is only available after you successfully logged in. The logoff screen allows you to logoff from your current user account:
Be sure that you have your personal secret certificate ready, if you want to login again later. ResumeThe Resume function is only available if you became a different user from an administrative user beforehand. It resumes the original administrative user and thereby ends the impersonating of another user (for example for support purposes).
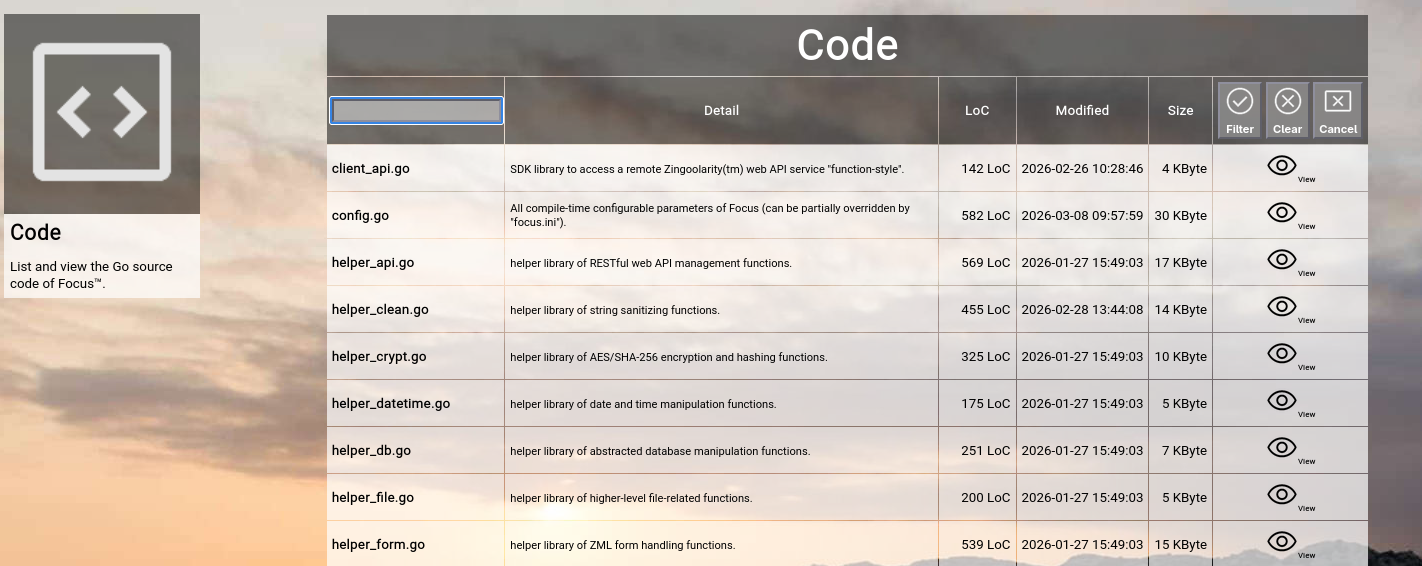
CodeThe Code function shows a list of all the code modules, which together form the Focus™ application. You can filter for a subset of modules by name. If you specify a wildcard filter, only the modules will be shown, which wildcard-match the provided filter. For example entering lang will show you all the language translation libraries of Focus™.
The list will show you the following information:
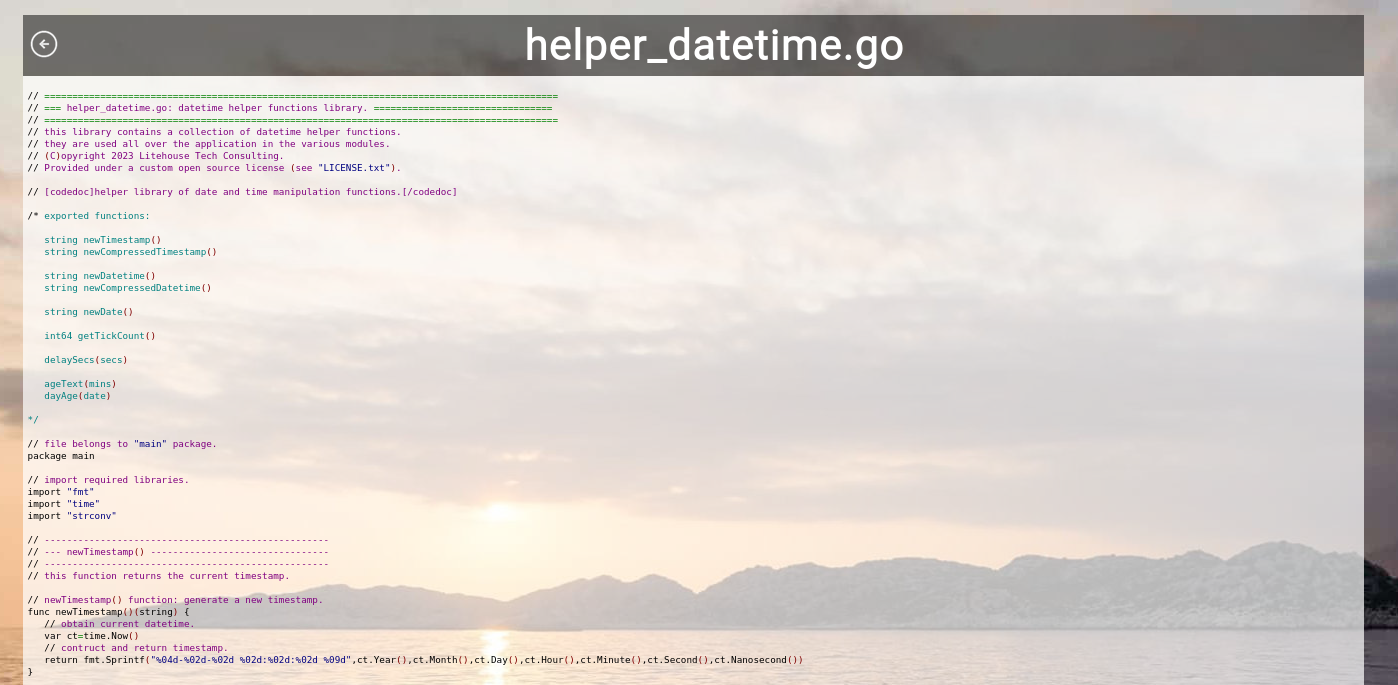
You can click on the filename (or the View button on the right) to display the color-highlighted source code, if you want to study the code in detail. Please note that this command does not allow editing of the source code.
FindThe Find function allows you to search all source code files of Focus™ for a certain phrase. This is helpful, if you want to do code modifications and need to assess the code segments, which you have to change. For example: listTopicByParent( The function will list all source code files, which contain this phrase.
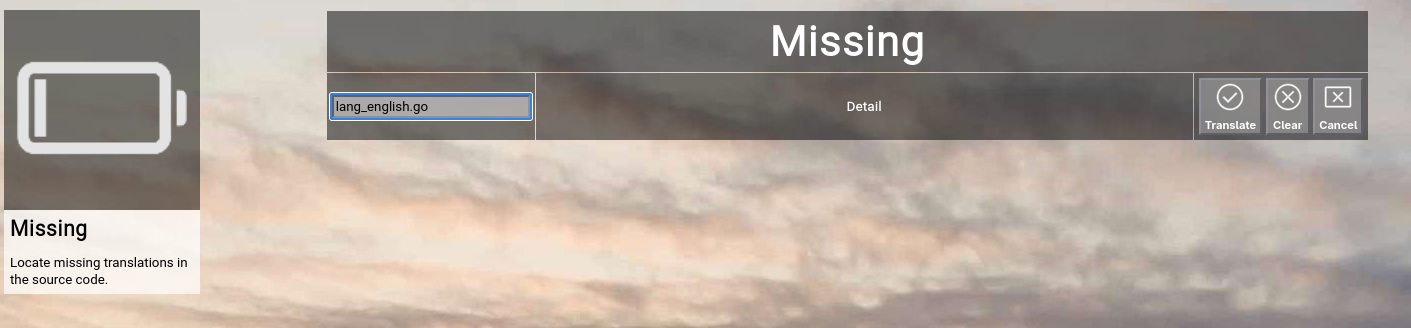
You can click on the filename (or the View button on the right) to display the color-highlighted source code, if you want to study the code in detail. Please note that this command does not allow editing of the source code. MissingThe Missing function requires the specification of a translation language file available in Focus™. It allows you to validate, if all phrases in the application are really translated or whether one or more of the translations are missing. To verify this for example for the german translation, enter lang_german.go By default, the currently selected language file is being rendered (english). This function is used by the application developers during code quality assurance.
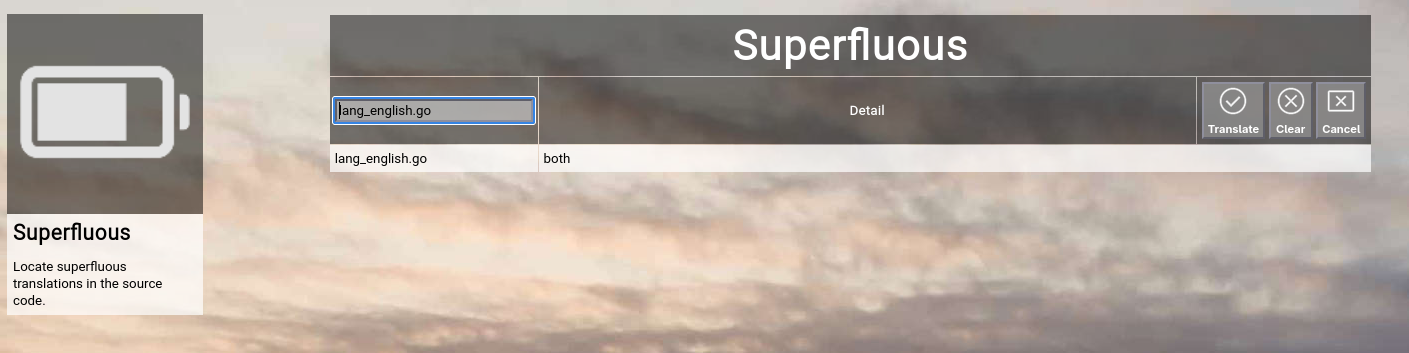
SuperfluousThe Superfluous function requires the specification of a translation language file available in Focus™. It allows you to validate, whether there is one or more superfluous translations in the specified language file, which can be removed. This command is used by the application developers during code quality assurance.
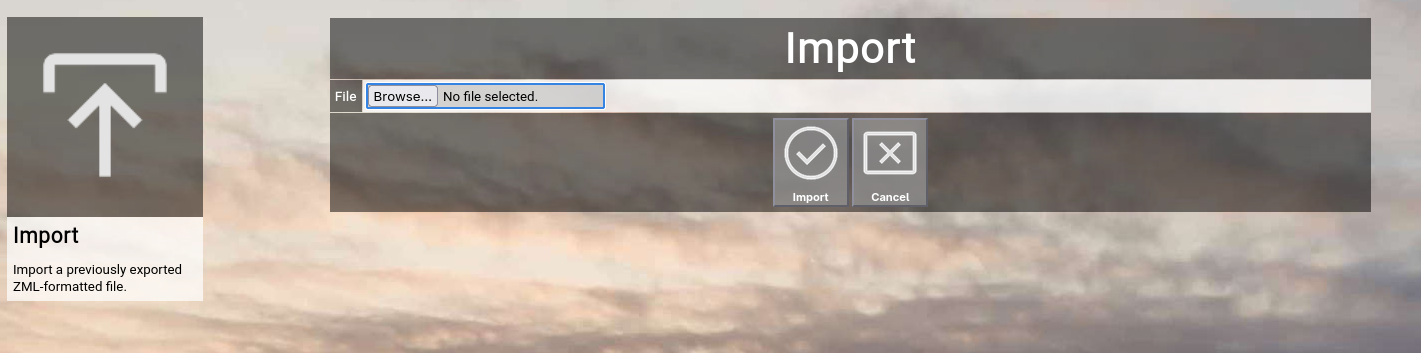
ImportThe Import function allows you to import a previously exported file containing any of the Focus™ data objects into your Focus™ instance. This function can also be used to move data from one instance to another. Import data is formatted in ZML. [state] [id]c29f96642ccf4fddac2b788adb95227b[/id] [name]Planned[/name] [detail][/detail] [active]1[/active] [final]0[/final] [sort]1[/sort] [style]background-color:#808080;color:#ffffff;[/style] [percent]-1[/percent] [/state] [state] [id]29753ded64eb49caa82b20c21d1f89ed[/id] [name]Started[/name] [detail][/detail] [active]1[/active] [final]0[/final] [sort]2[/sort] [style]background-color:#d0ffd0;color:#000000;[/style] [percent]-1[/percent] [/state] Export files can also be modified before importing them again, because they are plain text files. Such a file can contain a collection of different Focus™ object types. If an object with the same ID already exists in the database, Focus™ will skip the object during import (not performing an update). To initiate an import, select the Import function from the main menu or the home screen:
Click the Browse button and select a ZML file from your local storage. To start the import, click the Import button. The Cancel button will return to the home screen without performing the import. At the end of the import, Focus™ will show an overview of how many objects of a given type have been successfully imported or ignored (due to duplicates). Please note again, that exporting as well as importing requires administrative privileges. IntegrityWhen you import data into your Focus™ instance, it might happen that you import data, which has relations to other data objects, which are not present in your Focus™ instance. For example you may have imported some topics which use a custom state (e.g. "in decision" with the ID "decision"), which is not available in your Focus™ instance. The database of Focus™ does not directly enforce these foreign key relationships for flexibility reasons; instead the Focus™ application assures the proper checking of relations during (for example) a delete operation. You can use the Integrity function to verify all relations in the entire database (for example after an import), to make sure everything is in place. Select the Integrity function from the main menu or the home screen:
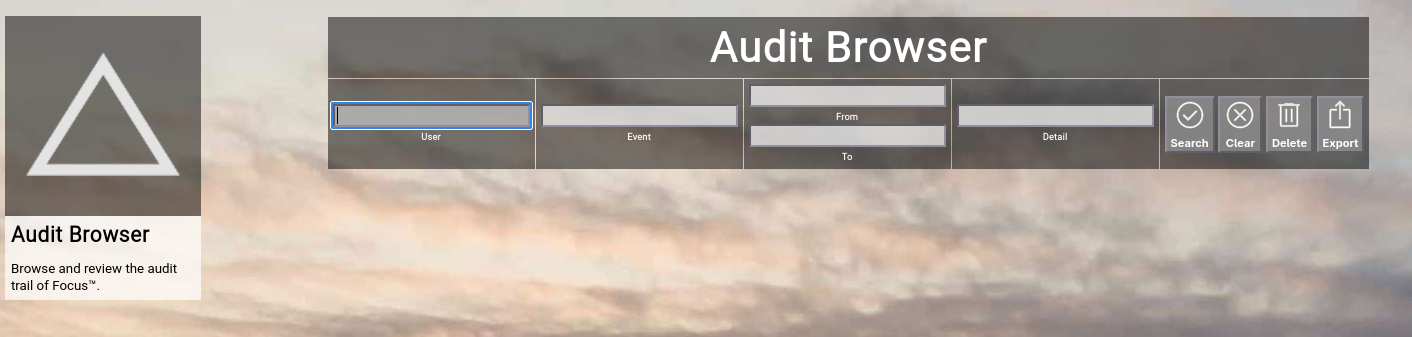
Focus™ will list all data objects and their primary ID foreign key relations. Whenever something is encountered, which has a missing key, the concreted key ID is dumped in RED to the screen. This gives you a chance to manually add the missing record and thereby fix the situation. What will happen if foreign keys are missing?In nearly all the cases, the related record will simply not show up in the frontend of Focus™. If you for example imported a topic with a state, which does not exist in your instance, the topic will simply not show up in the lists or the search and the record cannot be edited. As soon as you add the missing state, the topic will automatically appear again. AuditThe Audit function allows you to browse the internal audit log, which records any incoming web transaction for auditing purposes. You can also delete all records in the current audit log, if you no longer need the information (You can use the "Export" function prior to delete to save the accumulated audit log locally).
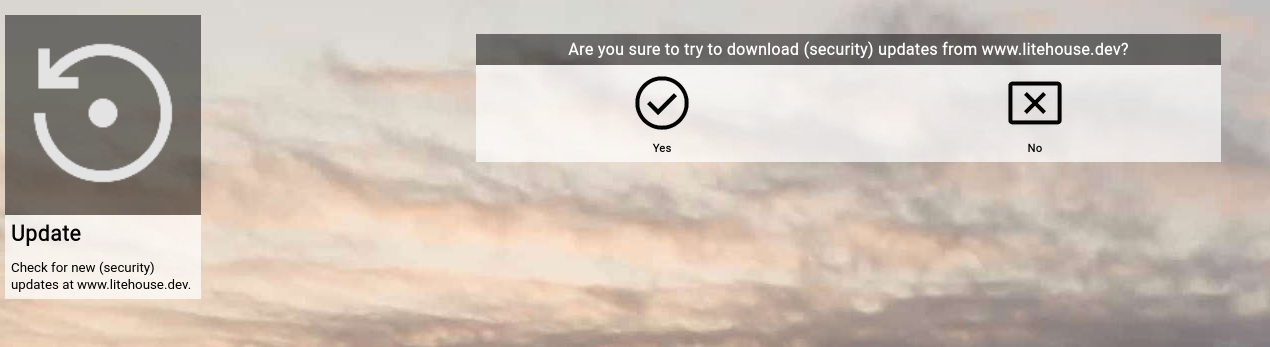
UpdateThe Update function will contact the official website www.litehouse.dev and will try to locate any official updates. If updates are found, they will be automatically downloaded. To activate a successful update, you need to restart your Focus instance afterwards™.
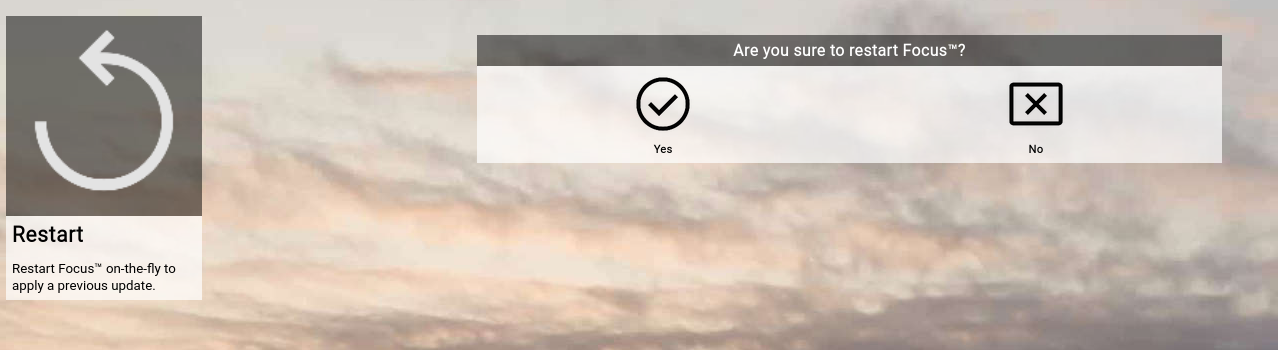
RestartThe Restart function will gracefully shutdown the currently running Focus™ process and will restart it. This function is helpful after an update of the server-side configuration (for example if you made changes to the global configuration file "focus.ini") or if you deployed a new release of Focus™.
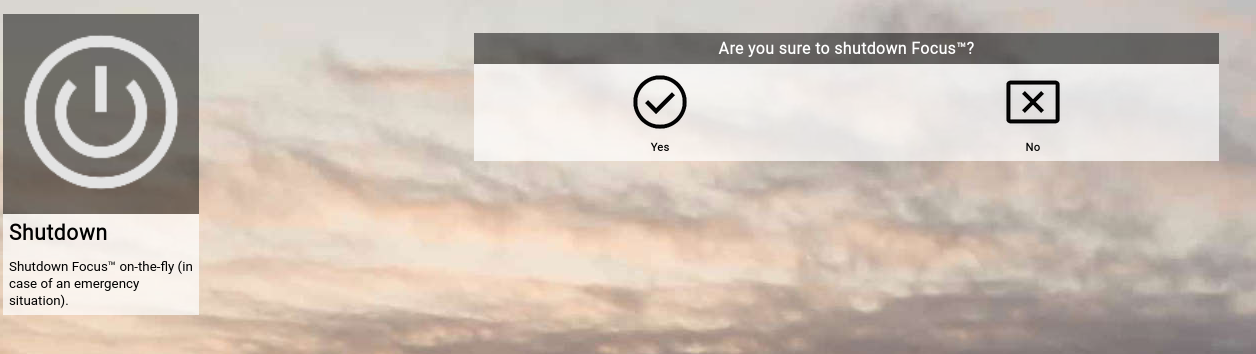
ShutdownThe Shutdown function will shutdown the Focus™ server process in a graceful manner by closing all resources and exiting. This function is provided for an emergency situation (for example if you need to stop all access to the Focus™ instance for security reasons), as you need operating system access to restart the process afterwards.
| |||||||||||||||||||||||||||||||
0ms